Flashlight Filter Ai Photo Editing Prompt – If you have been active on Instagram for a while, you may have noticed something. You have likely come across a specific trend—a “cinematic” style—that is currently gaining immense popularity among users. It involves creating images that resemble scenes from a movie or possess a distinct cinematic aesthetic. The interesting thing here is that this isn’t the result of complex, standard photo editing; it is simply a filter. You can generate these stunning images by applying just a single filter. Now, there is an important point to understand: this specific filter is available exclusively on Instagram. However, many users on the platform are currently unable to locate it—and as for the exact reason behind this issue, even I cannot say for certain.
Furthermore, another issue has arisen: users are currently limited to creating only one image per day using this specific filter. This has become a problem because when a large number of people attempt to use the same filter simultaneously, the system load becomes excessive, preventing the images from being generated successfully. However, there is no need to worry. I am going to share a trick with you that will allow you to achieve this same effect without relying on that specific Instagram filter. You can create images that look completely realistic and professional with the help of Google Gemini.
Details Of Flashlight Filter Ai Photo Editing Prompt
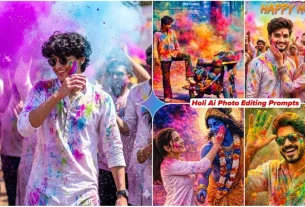
You might be wondering why this particular editing style—specifically this effect—is going so viral right now. It doesn’t merely perform a standard editing function; rather, it plays with the viewer’s psychology. For instance, consider a scenario where a standard, unedited photo might not look particularly impressive. When this specific filter is applied, it darkens the entire background while simultaneously focusing a spotlight directly onto the subject.
Consequently, everything else in the image appears somewhat obscured or “hidden,” causing your brain to automatically direct its attention toward the illuminated, highlighted area. This very technique is frequently employed in movies to ensure that the viewer’s brain instinctively focuses on the specific parts of the scene that are intended to be highlighted. When viewers see your face presented through this style of editing, they find it visually appealing; this is precisely how Instagram creators are infusing their content with creative flair—and achieving viral success in the process.
Why This Trend Is So Viral?
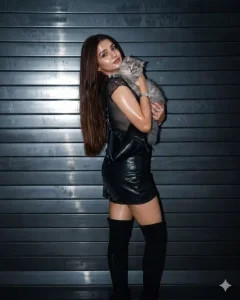
Let’s understand the real story behind how a simple photograph goes viral. Suppose you snap a picture—just a casual shot taken in a day—with a completely normal background; you haven’t done anything special to it. If you were to upload it as is, you might perhaps garner 50 to 100 likes. However, if you were to transform that very same photo into a darker tone using a specific filter—adding a flashlight effect to your face and incorporating a touch of green—the image suddenly takes on a dramatic quality. It begins to exude an air of mystery, compelling viewers to pause and take a closer look. This is where you harness the power of a “scroll-stopper”—a quality that becomes the defining characteristic of your content, paving the way for it to go viral.
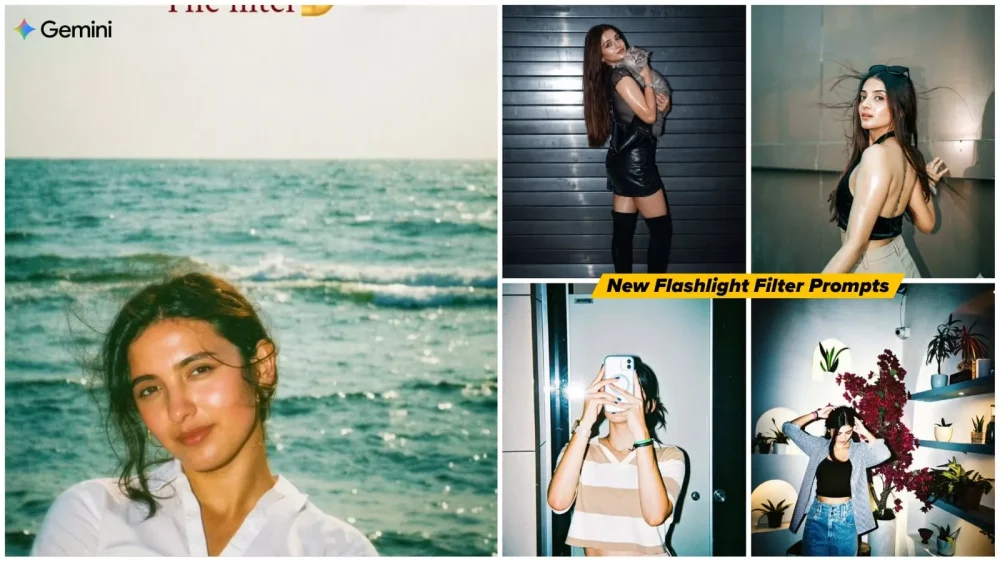
Apply a strong direct flash effect with high exposure and harsh lighting. Increase contrast and sharpness significantly. Add cool cyan/blue tones to shadows while keeping highlights slightly blown out. Skin tones should appear bright and slightly washed with a glossy flash look. Boost whites and reduce midtones for a punchy, high-fashion aesthetic. Add subtle noise and grain for a raw camera flash feel. Background should look darker and metallic with reflections enhanced. Overall look: paparazzi flash, night photography, bold, dramatic, Instagram restyle "flash" filter style.
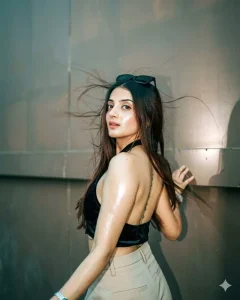
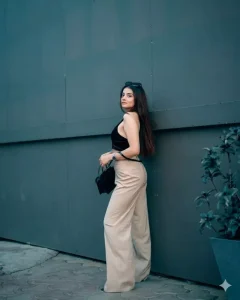
Apply only color grading and lighting to the original image, keep subject and composition unchanged. Add strong direct camera flash effect with harsh lighting, high contrast, slightly overexposed highlights, deep shadows. Add cool greenish-blue tint across the image, metallic reflective background tones, glossy skin highlights, bright flash reflection on surfaces, slight noise/grain, paparazzi elevator flash style, sharp details, ultra realistic, no face change, no structure change
Apply only color grading and lighting effect to the original image, keep the subject, face, pose, and background unchanged. Add a strong direct camera flash effect, high contrast, bright overexposed highlights on skin, deep shadows, glossy skin texture, slight shine, darkened background, paparazzi flash style, cinematic color grading, sharp details, no change in composition, no new elements, no distortion, ultra realistic, Don't Change The Face
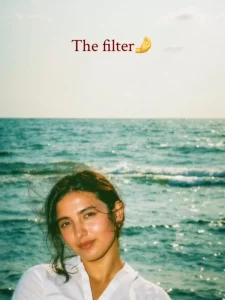
Apply only color grading and lighting to the original image, keep subject and background unchanged. Increase contrast and clarity, add cool cinematic teal-blue tone, shift colors towards teal and cyan, reduce warm tones and orange saturation, cool white balance, deep blue ocean tones, teal shadows, natural skin tones without orange tint, soft highlights, high detail, cinematic look, no distortion
Why Is Gemini A Game-Changer Here?
Well, Gemini significantly assists you in creating specific types of effects. For instance, consider the effects currently trending on Instagram—the kind you would typically apply using an Instagram filter. The problem users face there is that many simply cannot find the specific effect they are looking for; and even when they do find it, they are often limited to applying it only once per day.
If you wish to apply the effect to multiple photos—or if you’ve just tested it on one image and want to apply it to another—Gemini resolves all these issues for you. Essentially, you simply use a prompt to describe exactly what you want to see in your photo—much like the prompts I have already shared. When using these prompts within Gemini, you will need to provide a reference photo, which the AI then uses to help you generate a professional-quality image. We will walk through these steps in detail and show you exactly how you can create photos just like these.
How To Create These Images
Now, let’s see how to create the photo—it is actually quite simple. You just need to understand the process. First, you will need a prompt; you can find plenty of these already provided within the article. Select the specific style that appeals to you. Generally, all the generated photos will follow a similar aesthetic, with only slight variations in lighting—some appearing a bit darker or lighter. Aside from that, the editing style will consistently feature a “flash-light” effect. So, simply copy the prompt. Next, open Google Gemini—you can use either the website or the mobile application, whichever you prefer. Once inside Google Gemini, paste the prompt into the input field. Then, click on the “+” icon to upload your photo. Finally, locate and click the “Generate” button; the tool will then process your input and produce a professional-quality photo for you.
Conclusion
I hope you’ve enjoyed this trend, as I’ve already explained everything you need to do great things and create great photos of yourself. I’ve covered every detail. What you understood and what you didn’t understand? Please let us know in the comments.