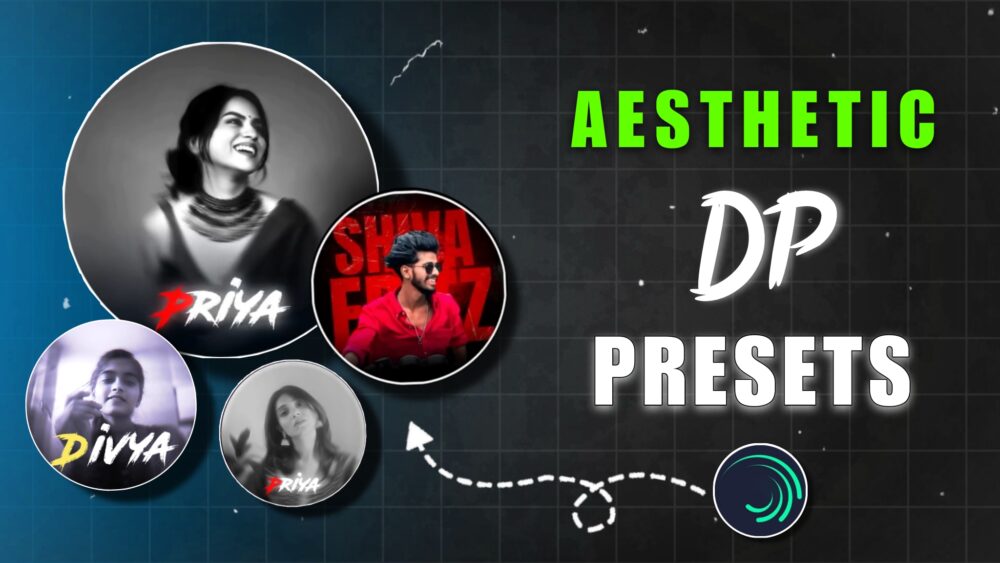
Friends, this Aesthetic Profile Picture Alight Motion Presets Editing which is going viral right now, we told you about its editing in the last article. Which was an alternative article. Meaning that you can create that kind of DP. Which has to be created in a completely real type. You follow this article and you will see the result here exactly the same. Many of you will have this question. you are giving this preset of alight motion. With this we edit videos, no, you can also edit photos. Exactly like the DP which is going viral. Similarly, here you have been given its preset ready. You just have to add your photo and your name in it. Your photo is ready.
Details :- Aesthetic Profile Picture Alight Motion Presets
Here in alight motion you edit your video. Similarly, I will provide you some such process here. With the help of which you can edit the same photos as well. It is very simple. In this article, I will tell you how to do it because look, editing DP is a bit hard. If you go to create a photo like this normally, it will take a lot of hard work. But you just have to replace it here. Like your photo and your photo will be edited easily. How to edit it in alight motion. Which preset is it, we will edit using it, let me tell you.

Use Of Presets In Two Way
Look, here we are going to edit it in two ways. You will get to see two types of presets. One you will get in the XML file. The second you will get in the project file. I will tell you both the ways which you find easy. You can follow that and there are some recommendations here too. Which will be told to you in the coming paragraphs.
How To Use Project File ?
Let’s talk about editing the project file. How to edit from the project file? First of all, you will be given a link here. As soon as you click on that link, it will directly take you to your alight motion. All the project files will be imported there at once. I have set something similar for you, there is no need to do it one by one. All will be added at once. You can see all the 10-15 DPs in it. Now whatever you find right in it, select it. There you will get the option of photo, so what to do is click on the photo and go to the color option. Replace your photo from there, now our name is there. Change it there and write your name. Your photo is ready. Then when you export, convert it to PNG from there. Your photo is ready.
Use Of Xml File
Editing with XML is completely different. Like editing with your project file. That is completely different. That will come in a premium plan. If you do not have a plan. You can follow this one, what you have to do is open the application. In that you will get the option of XML upload. Now you will click on the template area. Go there and select whatever XML file you need and upload it. Then after that go to the photo option and add the photo. After that you have to change the text there. The rest of your photo will be ready and you can do it like this.